If you’re UX designer, front-end developer, or creative professional, you’re probably very familiar with Figma. Did you know you can make an invoice in Figma? This is how to do it!
If you work as a consultant, contractor or freelancer—or if you’ve set your own business—you need to send invoices to get paid for the work you do. The invoice is both a request for payment from the client and a document that you need for bookkeeping and tax filing.
It might seem difficult to make an invoice, but you can actually do it in Word, Excel, Google Docs, Google Sheets or—you guessed it—Figma. You can even make an invoice in ChatGPT. However you do it, you have to make sure that your invoice is set up correctly.
See also: Is it mandatory to send an invoice?
What to include when you make a Figma invoice
Your first instinct might be to focus on the design, and while your invoice should look polished and promote your brand identity, you should make sure to add the important elements.
This is what you have to include in your invoice:
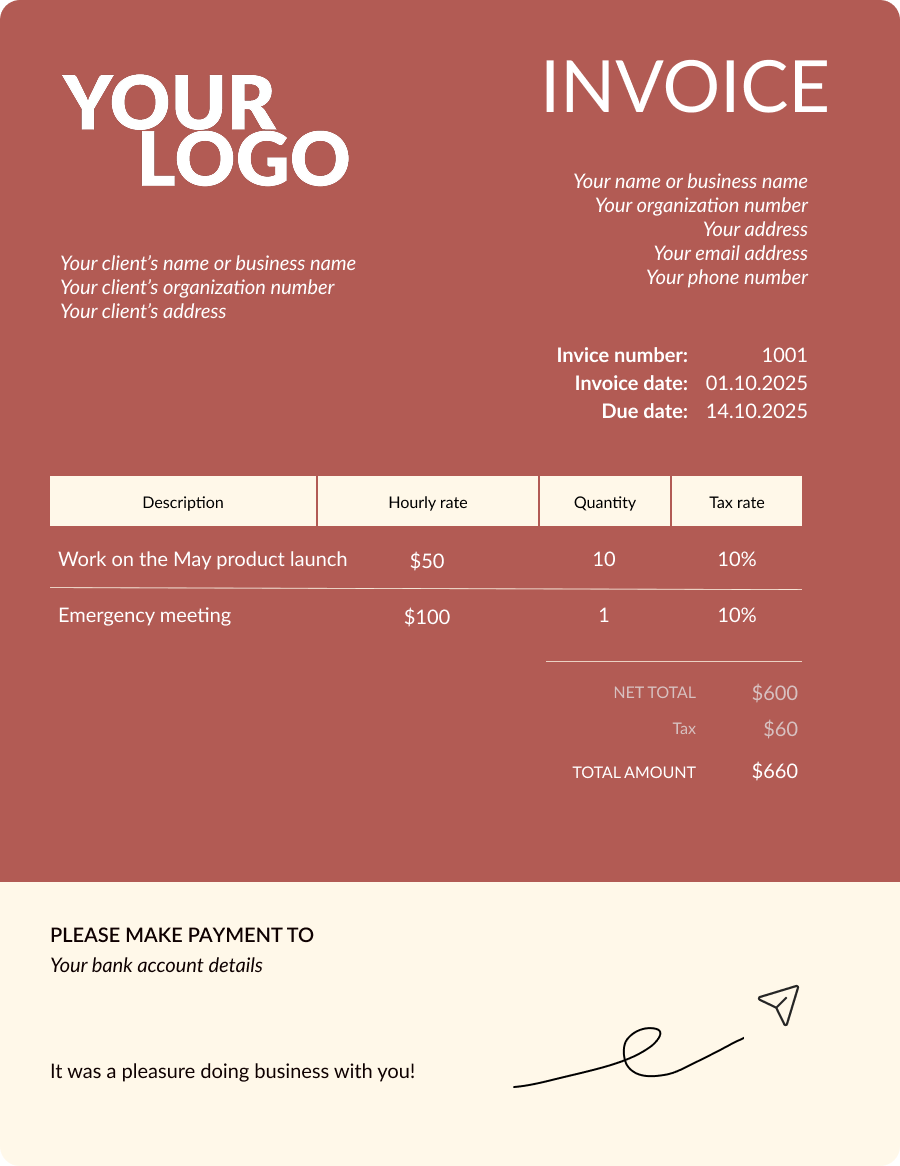
- The word invoice at the top, or tax invoice, if the invoice includes consumption tax or sales tax
- Your name or business name, organization number, address and contact details
- Your client’s name or business name, organization number and address
- The date the invoice was made, also called the invoice date
- The invoice number*
- The due date
- A list of the services or products you’ve provided. Make sure to include a good description, your unit price or hourly rate, the quantity, and the tax rate, if applicable
- Add up the amounts and show the net amount and the total due, as well as the tax amount, if applicable
- Payment methods, such as bank transfer information, or a link to PayPal, Stripe, or similar
* An invoice number is a legal requirement. Your invoices should be numbered in ascending order and there should be no gaps in the sequence. This is for tax purposes.
See also: How to write an invoice
Example Figma invoice
This is an example of what a Figma invoice could look like:
Pro tip: Make a Figma component
Set up your invoice layout and enter your details. Then create a component so that you can easily reuse the template for future invoices, even if your clients and your offerings change.
Remember to personalize your Figma invoice
When you make a Figma invoice, you have a lot of opportunity to personalize it by using your brand colors, fonts, and graphics.
However, make sure you find the balance between adding a personal touch, and a bit of brand identity, to your invoice, and creating something that looks professional and polished. An easy way to promote your brand is to add your logo. Then the client will be able to tell at a glance who the invoice is from.
If you don’t have a logo, you can use the free logo maker from Canva. You can also easily make your own logo using Figma.
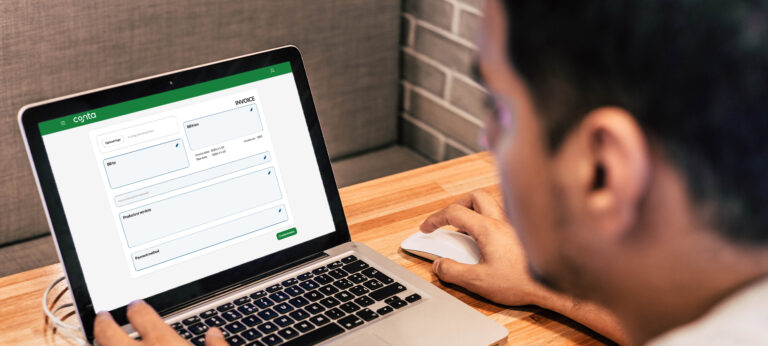
Want to make invoices even quicker?
If you use free invoicing software, you can speed up your invoicing process, while keeping that personal touch.
When you go to make an invoice, your details, logo and preferred payment method will be added automatically, and you can add clients and products with the click of a button.
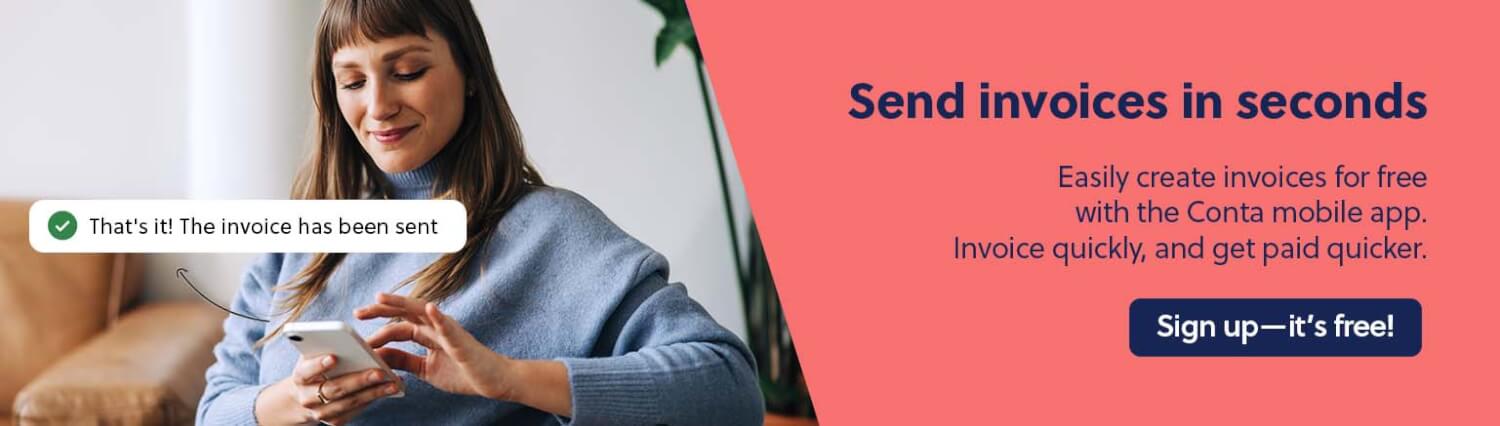
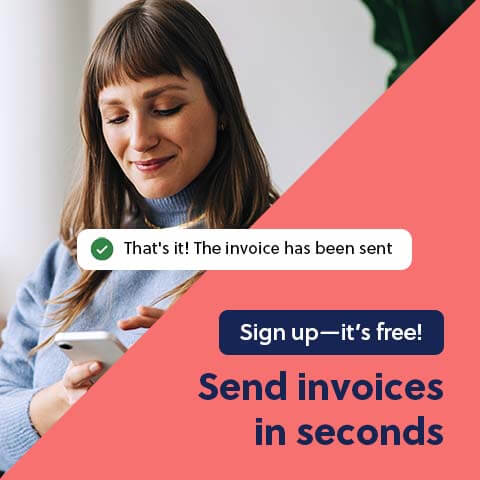
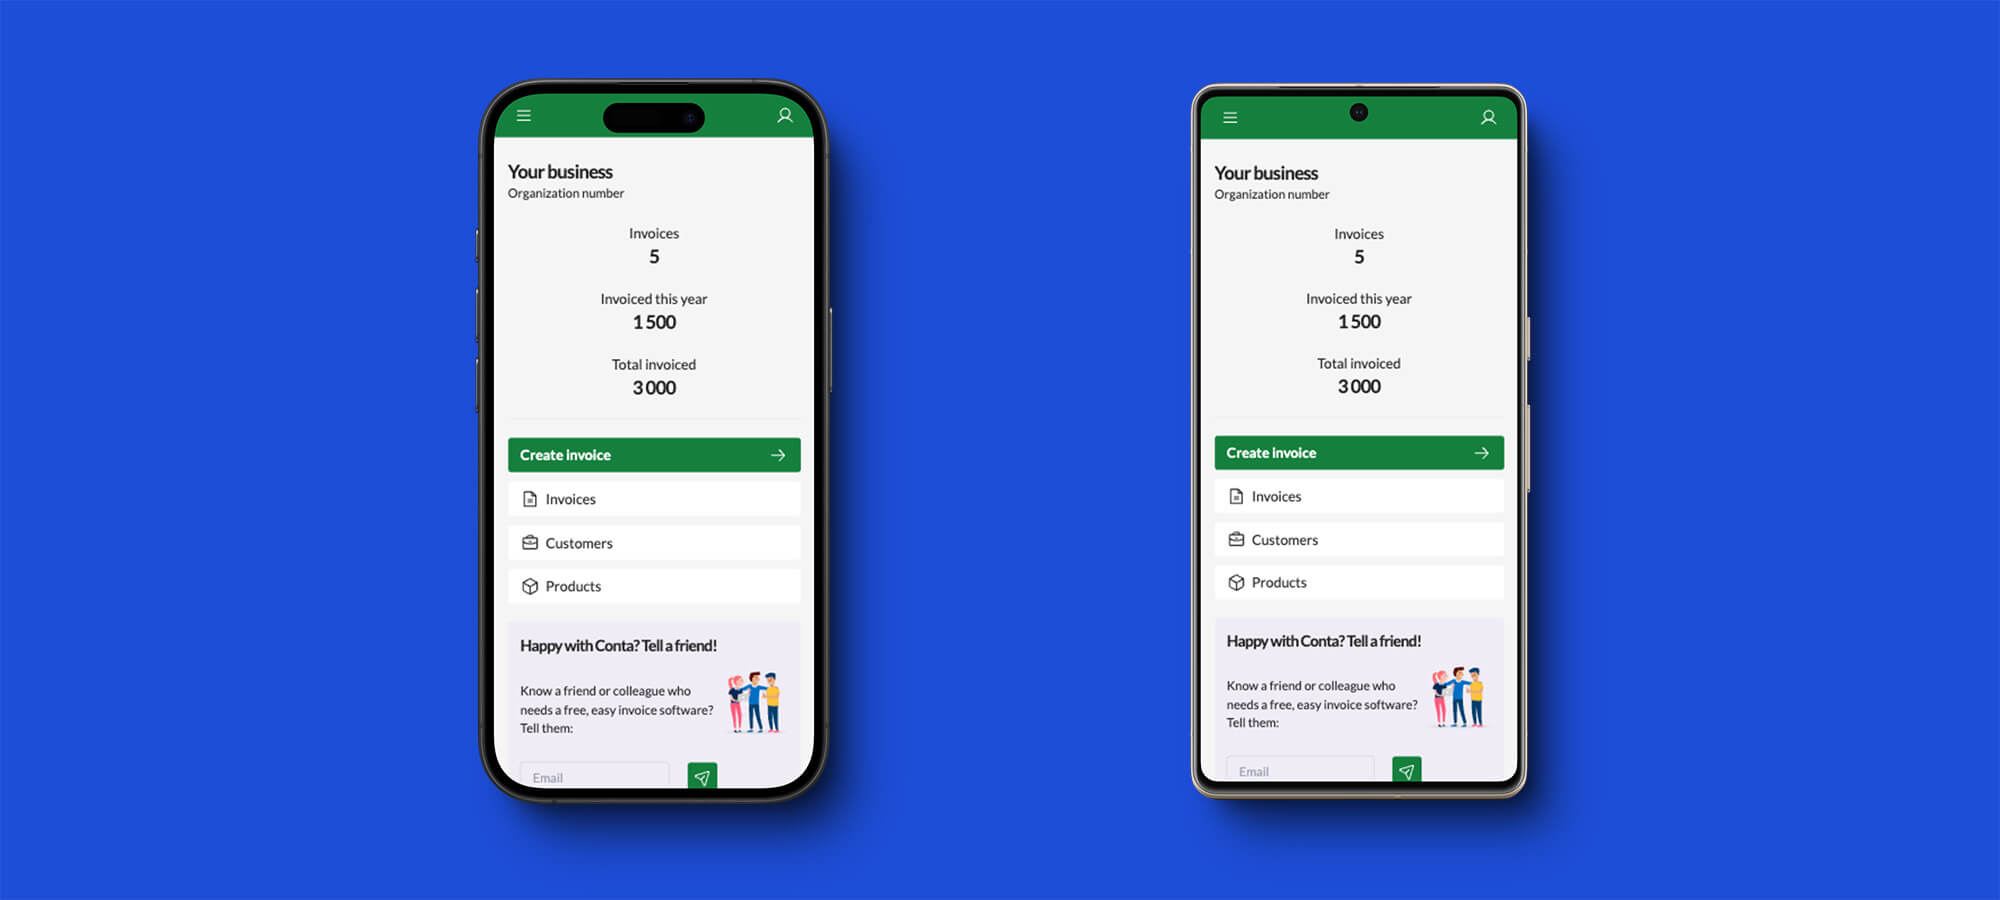
There’s a free mobile app as well, so you can do your invoicing on the go:
There’s no beating invoice software when it comes to saving time. Show your clients that you’re serious about your work!
Send professional invoices for free